Configuring a Classic LOCKSS System
To get back to the Classic LOCKSS Homepage use this link
LOCKSS Configuration:
Each LOCKSS Network has it’s own Configuration URL and Preservation Group(s) setting. This document covers the “default” LOCKSS Network (GLN, the Global LOCKSS Network). If you are configuring a LOCKSS box for something other than the GLN, you’ll need to obtain the Configuration URL and Preservation Group(s) that are appropriate for your LOCKSS Network.
Support:
Please email lockss-support@lockss.org for any questions you have or assistance you might need. The LOCKSS team is ready to help you:
- identify appropriate server hardware and Virtual Machine requirements for a LOCKSS box.
- discuss Linux installation topics, including storage configuration and network requirements.
- provide LOCKSS integration script templates and consultation on integration with your institutions technical and security standards.
First Time Configuration Checklist:
If this is the first time you are configuring LOCKSS on a new LOCKSS box, you will be asked a number of questions during the configuration process. The tables below identify the information you should gather.
Some of the information requested below is optional and is very seldom used – skip these items as appropriate.
If you are re-running the LOCKSS Configuration to update an existing value, you can skip this section of the document and proceed to the next section– the LOCKSS configuration process will show you the existing value for each configuration item and give you the opportunity to change it.
| LOCKSS Box Information That is Needed | Value |
|---|---|
| Fully Qualified Hostname | |
| IP address | |
| LOCKSS box advanced network information | |
| External NAT IP Address (optional, if applicable) | |
| Proxy Server IP Address (optional, seldom used) | |
| Proxy Port for Configuration URL (optional, seldom used) | |
| LOCKSS box email information | |
| LOCKSS Administrator email address | |
| Mail relay hostname (optional, if applicable) | |
| Mail relay username (optional, seldom used) | |
| Mail relay password (optional, seldom used) | |
| User network(s) accessing the LOCKSS Web Administrative UI on port 8081 | |
| Network 1 (CIDR format) | |
| Passwords | |
| Web Administrative UI username | lockss |
| Web Administrative UI password |
NON-GLN LOCKSS Network
Non-GLN LOCKSS Network users must enter these values during LOCKSS daemon configuration. These values should be provided by your LOCKSS Network administrator, you can contact LOCKSS support if you need help.
| LOCKSS Daemon Item | Value |
|---|---|
| Configuration URL | |
| Preservation group(s) |
LOCKSS Daemon Configuration Using Information from Checklist Above
The LOCKSS daemon stores configuration values in configuration file named /etc/lockss/config.dat that are referenced when LOCKSS starts. The program /etc/lockss/hostconfig creates the configuration file and is also used to update values in the configuration file.
- Log in to the LOCKSS box and gain root access.
- We need to know how many content storage directories are allocated for LOCKSS. The LOCKSS team recommends using filesystem mountpoints /cache0, /cache1, etc. If you follow the LOCKSS team recommendations, then type
ls –d /cache*and hit the enter key to get a list of your LOCKSS data filesystem(s). Here’s example output:- In this example we see one data storage filesystem - /cache0. Record your result somewhere – you’ll need this information soon.
- We need to know the IP address of the LOCKSS box. Type
hostname –iand hit the enter key to get the IP address for the configured hostname.- We obtain IP address 171.67.138.157 when running this command.
- NOTE: You collected this information already in the checklist, this step verifies you have the correct IP recorded. If you are using NAT, this command gives you the internal/private IP address.
- type
/etc/lockss/hostconfigand hit the enter key. This is what you’ll see:- The Fully Qualified Hostname from the LOCKSS box should appear in the brackets. Press the enter key to accept the provided value.
- The IP address for the LOCKSS box is needed. You recorded the value for the IP address in an earlier step – please enter it now. If you use NAT, enter your internal/private NAT address here.
- Initial Prompt:
IP address of this machine: [] - After entering the IP address you recorded:
IP address of this machine [] 171.67.138.157
- Initial Prompt:
- If the LOCKSS box does not use NAT, then just press the enter key to accept the default value of “N”. If the LOCKSS box does use NAT, you should enter Y to this question, and then enter the External NAT IP address when prompted.
- Indicate which network you will use to initially access the LOCKSS Web Administrative UI. The default network listed in brackets is the network that the LOCKSS box is on. You will be able to add additional networks later in the LOCKSS Web Administrative UI.
- Initial Prompt:
Initial subnet for admin UI access: [171.67.138.0/24] - After entering access network 1:
Initial subnet for admin UI access: [171.67.138.0/24] 171.66.242.0/23 - Note 1: Admin UI Access is normally managed through the UI – the value here is needed only for the first time connection to the UI.
- Initial Prompt:
- LCAP port, accept default by hitting the enter key.
- Proxy port, accept default by hitting the enter key.
- Web Administrative UI port, accept default by hitting the enter key.
- Enter Mail Relay hostname if you have one, otherwise accept the default localhost value.
- After entering a mail relay hostname:
Mail relay for this machine: [localhost] mailgw.stanford.edu
- After entering a mail relay hostname:
- If your Mail relay needs a username and password for access, you should enter Y to this question, and then enter the username and password when prompted. If your mail relay host does not need a username and password, then just press the enter key to accept the default value of “N”.
- Enter the Administrator email address for the LOCKSS box and press the enter key.
- After entering an example Administrator email address:
E-mail address for administrator: [] lockssuser@stanford.edu
- After entering an example Administrator email address:
- Path to java, accept default by pressing the enter key.
- Java switches, accept default by pressing the enter key.
-
Configuration URL, accept default by pressing the enter key. Non-GLN LOCKSS Network Do not accept the default value – enter the Configuration URL you listed in the Installation Checklist and then press the enter key.
- If you use a Proxy Server IP Address and a Proxy Port for outbound connection to the Configuration URL, you should enter them here (putting a colon between the IP address and the port number). Otherwise you should just press the enter key.
- Enable configuration failover, accept default by pressing enter key.
- Configuration failover maximum age, accept default by pressing enter key.
-
Preservation group(s), accept the default value by pressing the enter key. Non-GLN LOCKSS Network Do not accept the default value – enter the Preservation group(s) you listed in the Installation Checklist and then press the enter key.
- At the beginning of this section (Step 2) you recorded a list of the data storage areas – we need that information now.
- In our example earlier, we recorded one data storage filesystem, /cache0. To derive our content storage directories list, we append “/gamma” to each data storage filesystem, then use a semicolon to separate the first storage area from the second if there is more than one.
- After input:
Content storage directories: [] /cache0/gamma
- Temporary Storage Directory, accept default by pressing the enter key.
[cache0/gamma/tmp] - LOCKSS Web Administrative UI username – input lockss and then press the enter key.
- After input:
User name for web UI administration [] lockss
- After input:
- LOCKSS Web Administrative UI password - you are asked to enter it twice. The password will not be visible as you type. Make sure to remember this username and password – you’ll use the Web Administrative UI to interact with the LOCKSS software.
- Compare your settings with your Installation Checklist. If it’s OK, press Y to save the LOCKSS configuration you have just created. Otherwise, press N and you will be taken back to the beginning.
- After confirming the configuration, you’ll be asked to confirm the creation of your content storage directory(s), /var/log/lockss, and /cache0/gamma/tmp – answer Y to all questions.
- Start the LOCKSS daemon
- RHEL7 (or newer) Linux Variants: “systemctl start lockss”
- RHEL6 Linux Variants: “service lockss start”
Accessing LOCKSS
The LOCKSS daemon starts automatically when the LOCKSS server is booted.
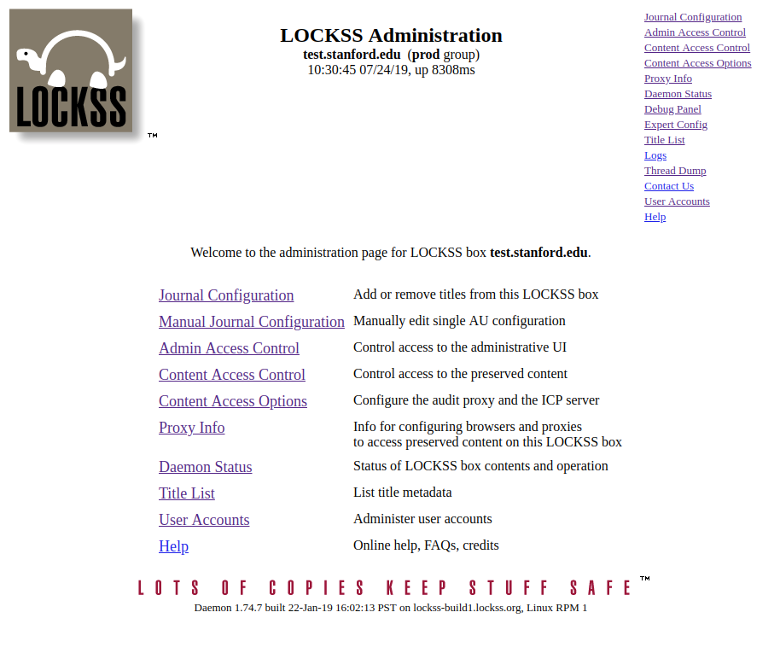
Go to the computer you want to use the Web Administrative UI from. Open an Internet Browser, enter the Fully Qualified Hostname from your Installation Checklist into the address bar, and then add on “:8081” to the end.
When you connect, you should be challenged for a username and password:
Enter the Web Administrative User (we used “lockss” in our example above), and enter the Web Administrative UI password you listed in the Installation Checklist. Click on the OK button, and you should see the Web Administrative UI home page that looks something like this: